
This is a simple project great for using up scraps. And if I can do it, you know it's easy! (Disclaimer: I am far from an experienced seamstress and can barely remember anything from my one highschool needle arts class, so I apologize ahead of time if my methods are unconventional and if my instructions are either confusing or stupid-simple. Proceed at your own risk, and feel free to offer improvement suggestions in the comments!)

I made a little wallet like this probably back in 2011 and never wrote down measurements or instructions of how I did it. I was devastated when my purse was stolen a few years later with it inside. You'd think I'd be more upset about losing my driver's license, Social Security card (don't judge, I know you're not supposed to carry that around with you, but I had just needed it for a new job I started) my phone, cash, and international driver's license. But in reality the thing I was most upset about was losing this little wallet! I loved how it was just the right size for all my miscellaneous cards and cash and if I wanted to, I could just throw this in my back pocket and head out the door with my phone and keys and not have to worry about a purse. (And obviously I had reason to worry about a purse.)
Anyway, I figured it was time to sew another one! It's not the same fabric, alas, but pretty close.
What you will need:

Iron the seams flat and turn it right sides out.


Decide which color will be your top flap (mine is cream) and lay the project down with the side with more of that color facing up. Fold the bottom up to make the pocket piece.

Then fold the top flap down and adjust until you like the size of the pocket and the flap. Iron creases to mark your preferences. Open it back up and turn it back inside out.

You can round the edges of the top flap or keep them square. (I like the look of a little rounding.) Starting at your crease for the edge of your top flap, sew the open sides shut with 1/2 inch seams, leaving a small gap for turning it right sides out again.

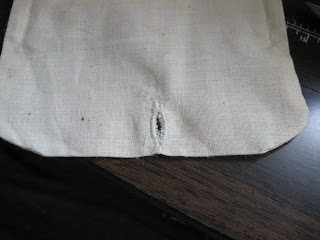
Tuck the edges of the gap in and iron even with the seam (should look like there's no hole after it's ironed.)

Then fold up your bottom pocket piece on your crease and top stitch along the sides to make the pocket.

Then finish with either a snap or a buttonhole and button.
I got these coverable buttons for a project making push pins for a cork board and decided to try a button this time.

Please don't laugh at my very first attempt at making a buttonhole. Personally I liked the ease of the installation of the snaps, as well as the look and convenience when using the wallet. But it was worth a try :)


If you make this project I'd love for you to post descriptions/pictures in the comments!
Happy crafting! :)

I made a little wallet like this probably back in 2011 and never wrote down measurements or instructions of how I did it. I was devastated when my purse was stolen a few years later with it inside. You'd think I'd be more upset about losing my driver's license, Social Security card (don't judge, I know you're not supposed to carry that around with you, but I had just needed it for a new job I started) my phone, cash, and international driver's license. But in reality the thing I was most upset about was losing this little wallet! I loved how it was just the right size for all my miscellaneous cards and cash and if I wanted to, I could just throw this in my back pocket and head out the door with my phone and keys and not have to worry about a purse. (And obviously I had reason to worry about a purse.)
Anyway, I figured it was time to sew another one! It's not the same fabric, alas, but pretty close.
What you will need:
- Sewing machine,
- Scissors,
- Needle,
- Coordinating thread,
- Either two coordinating pieces of lightweight cotton fabric each 5.5 inches wide and 8 inches long or
- One piece of fabric 5.5 inches wide and 15 inches long. (I like the look of two colors, so that's what I used for this tutorial.)
- Button or snap (I prefer the convenience of the snap)
- Steam iron and ironing board

Iron the seams flat and turn it right sides out.
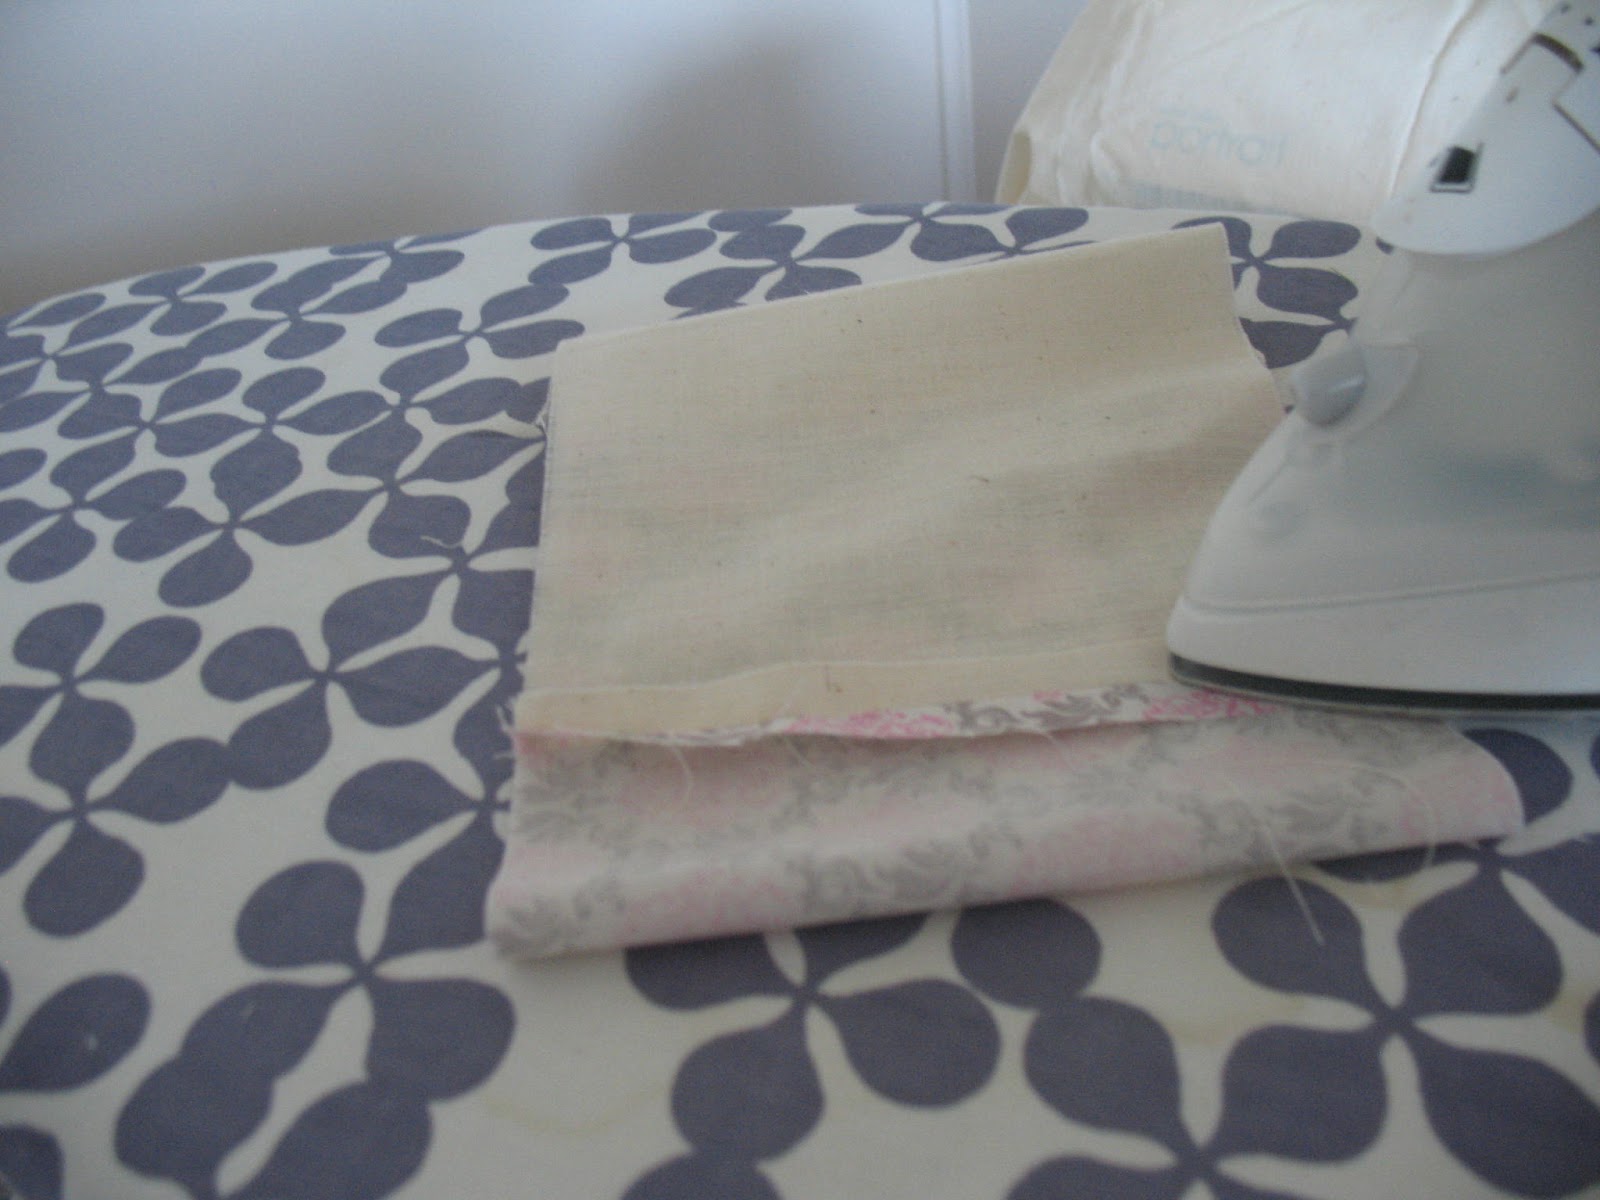
Lay it on your ironing board with the seams off center by about an inch.

Decide which color will be your top flap (mine is cream) and lay the project down with the side with more of that color facing up. Fold the bottom up to make the pocket piece.

Then fold the top flap down and adjust until you like the size of the pocket and the flap. Iron creases to mark your preferences. Open it back up and turn it back inside out.

You can round the edges of the top flap or keep them square. (I like the look of a little rounding.) Starting at your crease for the edge of your top flap, sew the open sides shut with 1/2 inch seams, leaving a small gap for turning it right sides out again.

Tuck the edges of the gap in and iron even with the seam (should look like there's no hole after it's ironed.)

Then fold up your bottom pocket piece on your crease and top stitch along the sides to make the pocket.

Then finish with either a snap or a buttonhole and button.
I got these coverable buttons for a project making push pins for a cork board and decided to try a button this time.

Please don't laugh at my very first attempt at making a buttonhole. Personally I liked the ease of the installation of the snaps, as well as the look and convenience when using the wallet. But it was worth a try :)


If you make this project I'd love for you to post descriptions/pictures in the comments!
Happy crafting! :)
Way to go darling daughter! I love quick projects! And cute! And Useful!
ReplyDeleteI may even find time for this. Then I'll take a picture and YOU can post it for me since I seem to be allergic to all things technical.